Plan Your Gaming PC Build Without Unexpected Delays
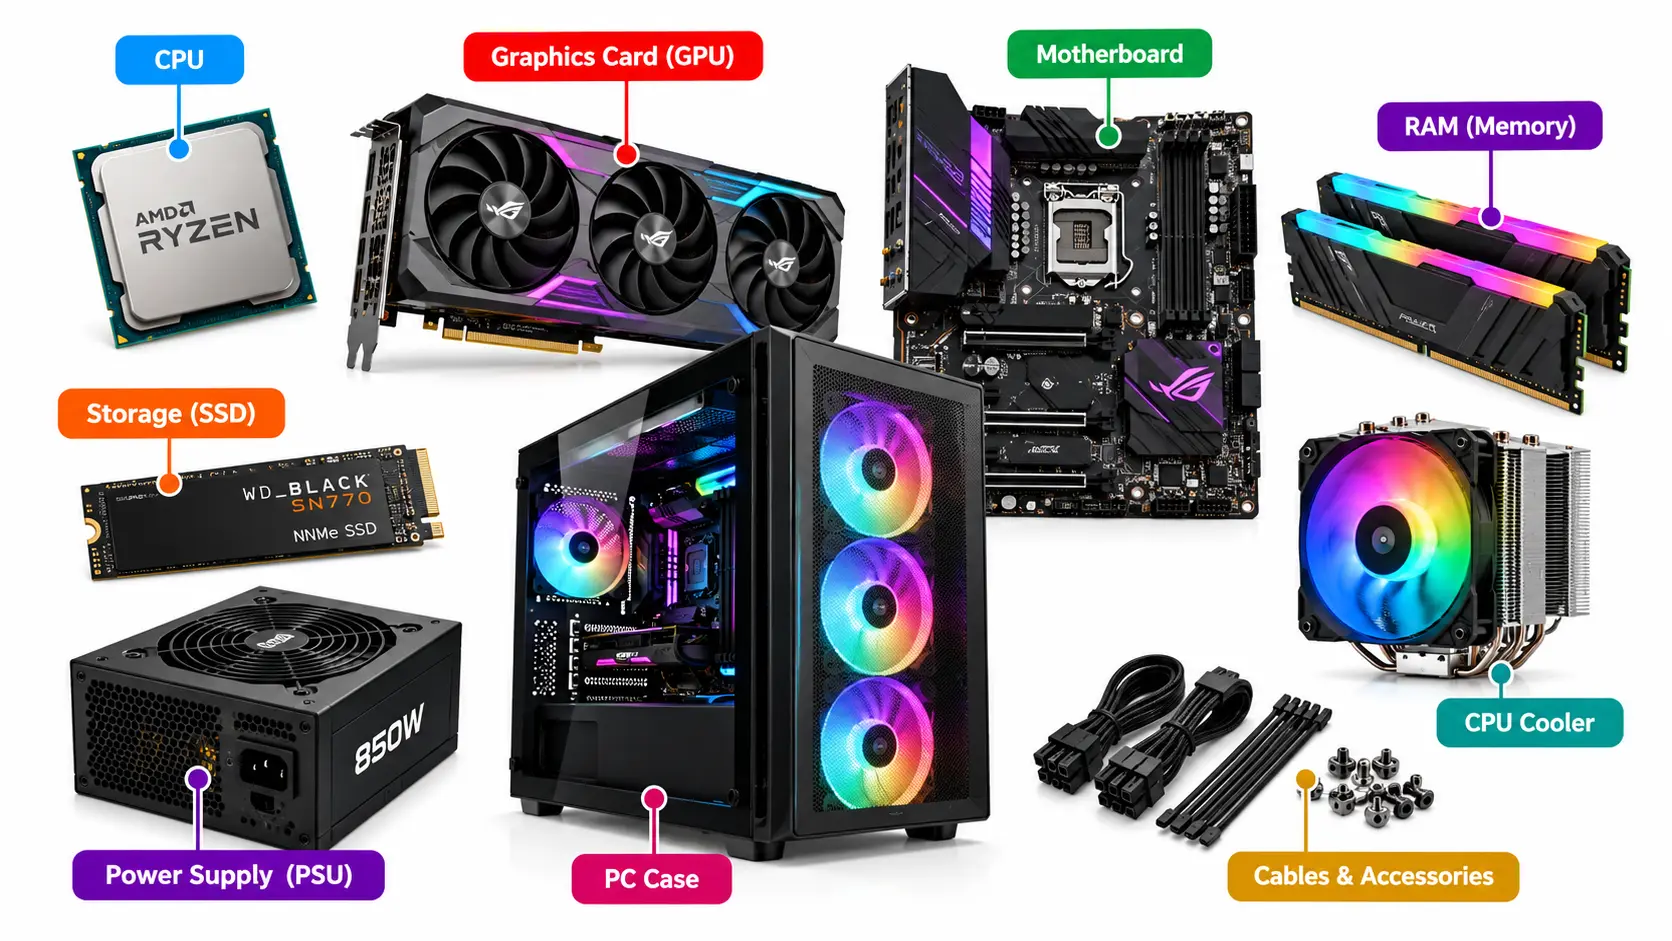
To plan a gaming PC build without unexpected delays, start by setting your budget, choosing compatible components, checking delivery dates, and allowing enough time for assembly and testing. Buying the right hardware is only part of the process. A missing power cable, unsupported processor, delayed graphics card, or faulty component can prevent you from finishing your build on schedule. Checking these details before ordering helps you avoid unnecessary expenses and wasted time.
When building a gaming PC, I would focus on two things from the beginning: whether the selected components can deliver the gaming performance I want and whether I can assemble and test everything within my planned schedule. A good CPU and GPU combination matters, but so do component availability, shipping times, and return policies. Organizing these decisions before purchasing makes the building process easier to manage.
1. Decide What Gaming Performance You Need
Before choosing components, decide which games you want to play, your preferred resolution, and the frame rates you expect. These requirements determine how much processing and graphics power your PC needs. Buying hardware without clear performance goals can lead to unnecessary upgrades or disappointing results.
For example, a PC intended for competitive gaming at 1080p and high refresh rates may benefit from a processor capable of delivering high frame rates. A system designed for demanding games at 1440p or 4K will generally place more load on the graphics card. Streaming, recording, and running background applications can also affect your hardware requirements.
I would compare the recommended system requirements of my preferred games with actual benchmark results before selecting a CPU and GPU. This helps establish a realistic performance target and reduces the chance of replacing components after purchasing them. Intel’s build guide also explains how to select gaming PC components according to performance needs and compatibility.
2. Set a Budget for the Complete PC Build
A gaming PC budget should include every component needed to assemble and use the computer, not just the processor and graphics card. Spending most of your money on these two components can leave insufficient funds for a reliable power supply, compatible motherboard, or suitable cooling system.
Calculate the combined cost of your CPU, GPU, motherboard, RAM, storage, PSU, case, and CPU cooler. Include a Windows license if needed, along with any monitor, keyboard, mouse, or headset you still need to purchase. Delivery charges and applicable taxes should also be part of your total estimate.
I would keep a small amount of money available for unexpected expenses rather than spending the entire budget immediately. For example, you might discover that your chosen case needs additional fans or that the CPU cooler requires a separate mounting kit. Planning for these possibilities helps prevent unfinished builds caused by minor missing parts.
3. Choose a Balanced CPU and GPU Combination
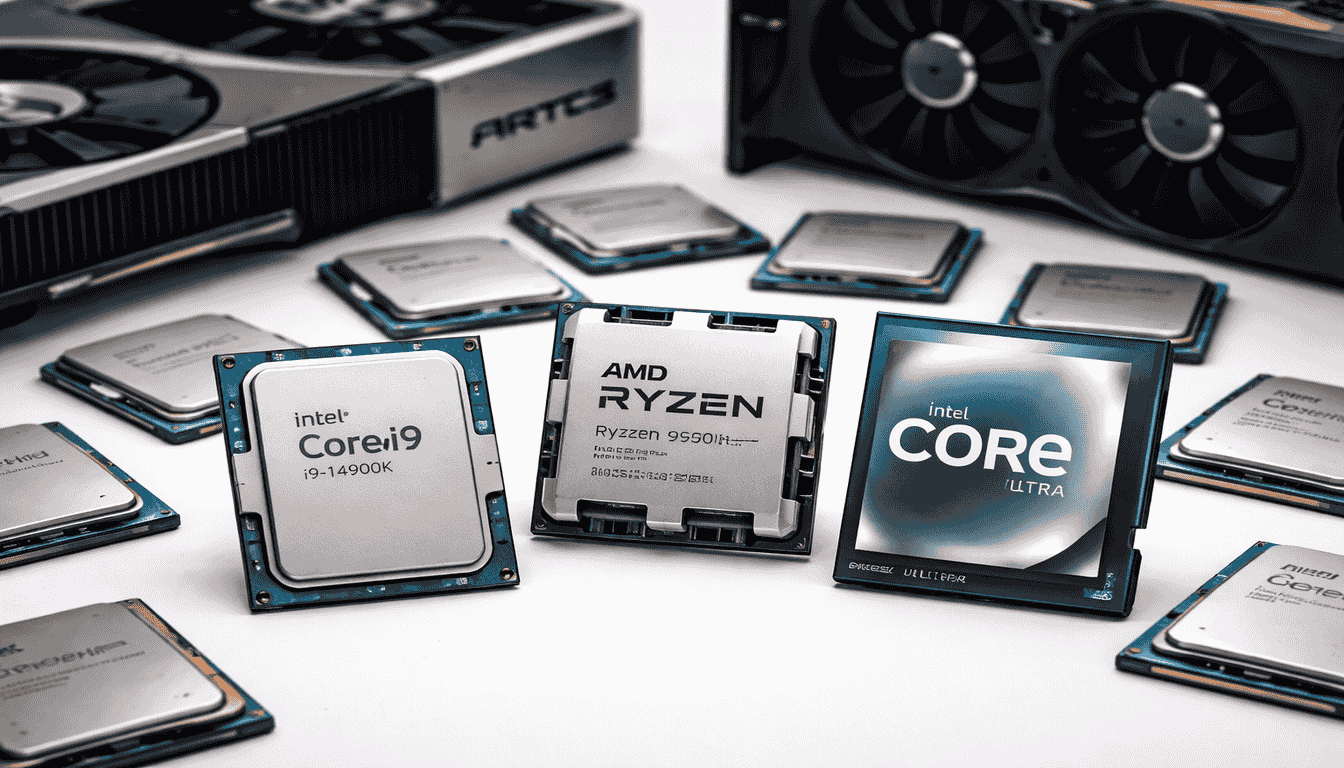
Choosing a processor and graphics card that suit your intended games and resolution is an important part of planning a gaming PC. An expensive graphics card does not automatically guarantee high FPS if the processor cannot prepare frames quickly enough. Similarly, a powerful CPU cannot compensate for a graphics card that struggles with demanding graphics settings.
A CPU bottleneck can occur when the processor limits the frame rate the GPU could otherwise deliver. A GPU bottleneck occurs when graphics rendering becomes the main performance limit. The limiting component can change depending on the game, resolution, and graphics settings.
Before purchasing, compare benchmarks for your proposed CPU and GPU combination at your intended resolution. You can also read our guide on CPU/GPU bottlenecks to understand the difference between CPU and GPU limitations.
Choosing suitable components from the beginning reduces the likelihood of replacing expensive hardware shortly after completing your build.
4. Check Component Compatibility Before Ordering
Component compatibility is one of the first things I would verify before placing an order. If a processor does not work with the selected motherboard or a graphics card cannot fit inside the case, the build may stop until you receive a replacement. These problems are easier to prevent before purchasing than after opening the hardware.
Start by checking the CPU socket, motherboard chipset, and supported BIOS versions. A motherboard may physically accept a processor but still require a BIOS update before it can boot. AMD’s official guidance on BIOS updates explains why processor support depends on the installed firmware.
Next, confirm whether your motherboard supports DDR4 or DDR5 memory, the RAM capacity you intend to install, and the storage interfaces you need. Check the graphics card’s length and thickness against the case specifications, along with CPU cooler height and radiator clearance where applicable.
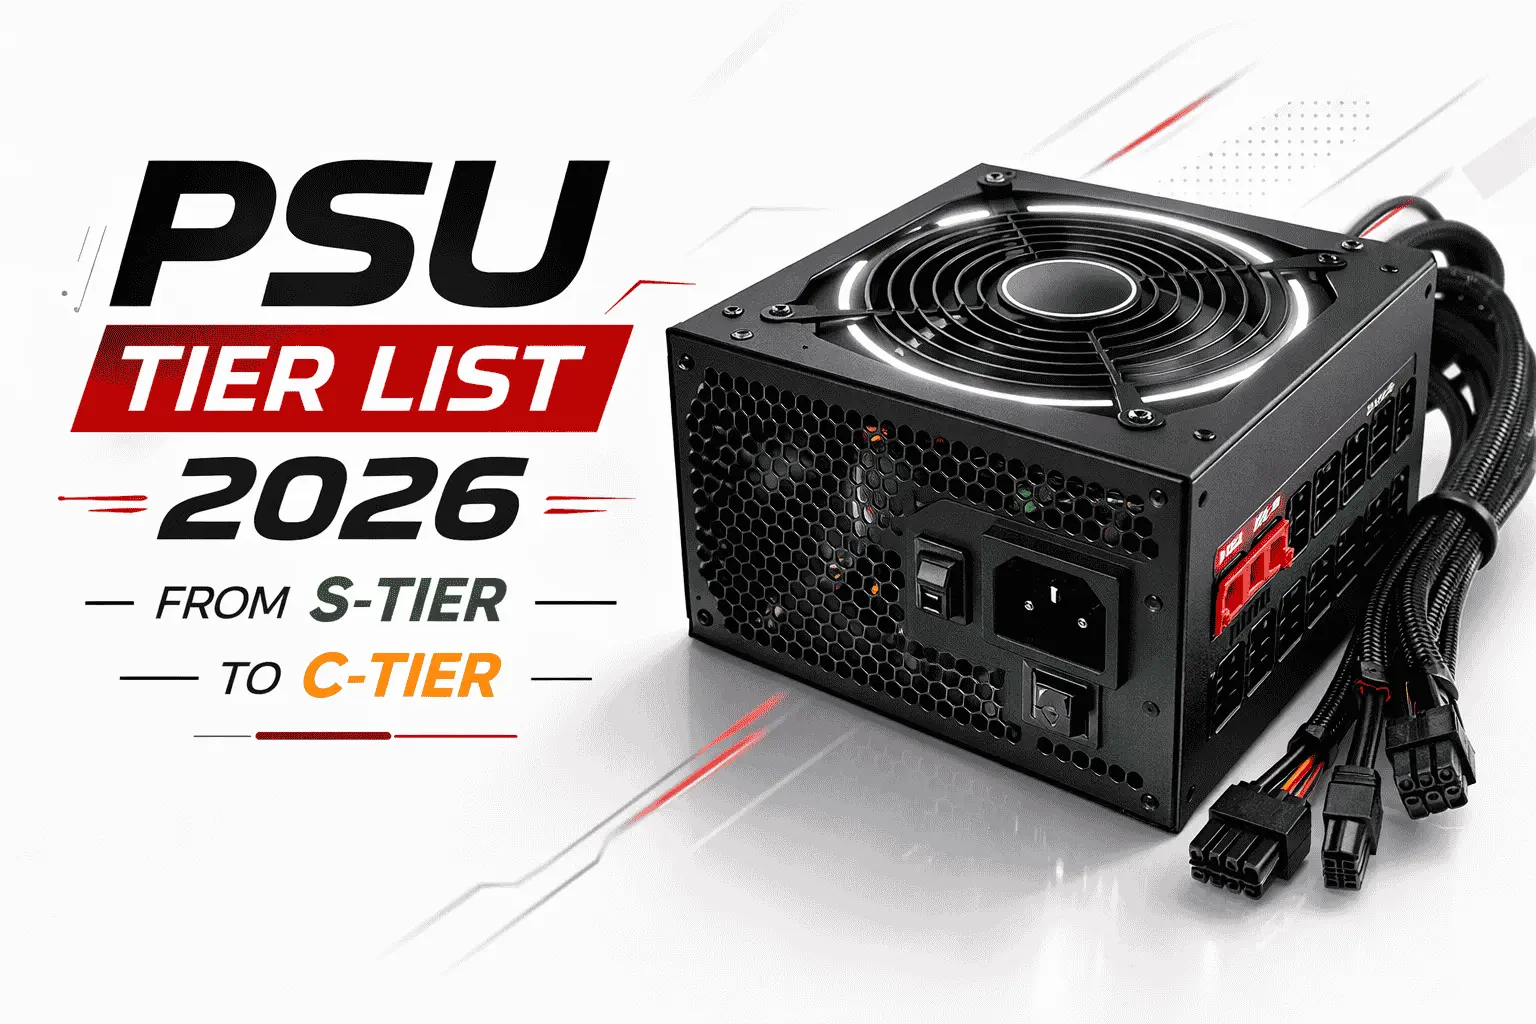
Power supply compatibility is just as important. Your PSU must provide sufficient wattage and the correct connectors for your motherboard and graphics card. Corsair’s PSU calculator can help estimate suitable wattage, but you should still check the graphics card manufacturer’s requirements.
5. Plan Your Component Delivery Dates
Ordering PC parts from several retailers can make delivery planning difficult. Your processor and motherboard might arrive within a few days, while your graphics card or power supply takes longer. Even one missing component can prevent you from assembling or testing the complete system.
Before ordering, check the estimated dispatch date, shipping method, and expected delivery period for each item. Pay attention to whether the retailer counts calendar days or business days, because weekends and public holidays may affect the schedule.
For example, suppose a graphics card has an estimated delivery period of seven business days. That does not necessarily mean it will arrive one week after ordering. A Contador de dias úteis can help count the business days between your purchase and planned assembly dates. Check that the weekend and holiday settings match the location and rules used by your retailer or courier.
I would schedule assembly around the latest expected component delivery and leave extra time in case a shipment is delayed. Tracking the package is useful, but a delivery estimate should not be treated as a guaranteed arrival date.
6. Order Components Without Losing Your Return Window
Some gaming PC components are easier to find than others. Popular graphics cards, newly released processors, and specialized motherboards may have limited availability, while common accessories are often easier to purchase.
However, ordering a CPU several weeks before the motherboard can introduce another problem. If the processor turns out to be defective, the retailer’s return period might be close to expiring before you can test it.
I would compare availability across retailers and try to order essential components within a reasonably close period. This makes it easier to test the completed system while return options are still available.
Before paying, read each retailer’s return and warranty policies. Check the conditions for damaged, defective, or incorrectly supplied components, and keep copies of invoices and order confirmations. These details matter if you need a replacement rather than a refund.
7. Prepare Your Components and Workspace
Once your parts begin arriving, organize them before assembly. A clean workspace gives you enough room to handle components safely and prevents screws, cables, and mounting accessories from getting misplaced.
Prepare a suitable screwdriver, your motherboard manual, the required cables, and any cooler mounting hardware. Check whether your CPU cooler includes thermal paste and whether your case comes with enough fans for your intended airflow configuration.
Inspect the packaging when each item arrives and confirm that the model matches your order. Look for visible shipping damage and report any problems promptly. Keep components protected until you are ready to install them, and avoid handling exposed electronic contacts unnecessarily.
I would also review the motherboard’s connector layout before installing it inside the case. Knowing where the front-panel connectors, CPU power connector, fan headers, and storage slots are located can save time during assembly.
8. Allow Time for Assembly and Windows Installation
A gaming PC is not necessarily ready to use once all the components have arrived. You still need to install the hardware, connect the power cables, configure the system, and complete the operating system setup.
If this is your first build, reserve enough time to follow the component manuals carefully rather than rushing to finish everything in a single short session. Installing the CPU, RAM, SSD, motherboard, cooling system, GPU, and power supply takes attention because small mistakes can prevent the system from booting.
After assembly, check whether the system completes its initial power-on self-test and recognizes the installed hardware. Then prepare your operating system and necessary software. Microsoft’s official installation media instructions explain how to create a bootable USB drive for installing Windows.
Once Windows is installed, download the appropriate motherboard chipset, network, and graphics drivers from official manufacturer websites. Preparing installation media and downloading essential files beforehand can also help if your newly assembled PC has no working internet connection.
9. Test Your Gaming PC Before Regular Use
Finishing assembly does not confirm that every component is working correctly. Before installing all your games, check system temperatures, memory detection, storage recognition, and general stability.
Start by checking the BIOS or UEFI settings to confirm that the motherboard detects the expected CPU, RAM, and storage devices. After Windows loads, monitor CPU and GPU temperatures at idle and under suitable test workloads. Compare your readings with the manufacturer’s operating specifications.
Next, test a few games or benchmarking applications that represent your intended workload. Watch for unexpected restarts, crashes, FPS drops, or unstable frame times. These symptoms can indicate driver problems, overheating, memory instability, or other configuration issues.
For systems using NVIDIA graphics cards, the official driver downloads page provides the appropriate drivers for supported GPUs. AMD and Intel graphics users should obtain their drivers from their respective manufacturers.
I would complete these checks before considering the PC ready for extended gaming sessions. Finding a hardware or software problem early gives you more time to troubleshoot it while warranty and return options remain available.
10. Prepare for Common PC Building Problems
Even a carefully planned build can encounter problems during assembly or the first boot. A component might arrive damaged, the PC may fail to display an image, or the system might not recognize the installed RAM.
If the computer does not start, begin with basic checks instead of immediately assuming that an expensive component is defective. Confirm that the PSU is switched on, the motherboard and CPU power connectors are properly seated, and the case power-button cable is connected to the correct pins.
If the system powers on but displays nothing, check the monitor connection and consult the motherboard’s diagnostic LEDs or error codes. On a PC with a dedicated graphics card, connect the monitor to the graphics card’s video output. If the processor does not include integrated graphics, the motherboard’s video ports generally will not provide a display output.
Memory problems can also prevent the system from booting. Check that the RAM modules are properly installed and placed in the slots recommended by the motherboard manual.
Troubleshooting one issue at a time is more useful than changing several settings or replacing multiple components simultaneously. It helps identify the cause and reduces additional expenses.
11. Keep Track of Your Build Progress
I prefer to maintain a simple record of purchased components rather than relying entirely on order confirmation emails. This makes it easier to see which parts have arrived, which shipments are still pending, and which components need testing.
Record the component name, model number, purchase date, delivery estimate, retailer, and warranty information in a spreadsheet or notes application. Update the record whenever a shipment arrives or an item is installed.
For example, if your graphics card delivery changes from Thursday to Monday, your tracker immediately shows that your planned weekend assembly may need to move. You can then adjust your schedule rather than discovering the problem when you are ready to begin.
Keep the completed record after finishing the build. It can help with future warranty claims, component upgrades, and troubleshooting.
Conclusion
Planning a gaming PC build involves more than selecting a CPU, GPU, and motherboard. You also need to verify component compatibility, manage purchasing costs, understand delivery timelines, and reserve enough time for assembly and testing.
I would prioritize checking compatibility and ordering parts within a reasonable timeframe, because these decisions can prevent some of the most expensive delays. Keeping your receipts, tracking shipments, and testing hardware promptly also makes unexpected problems easier to manage.
A well-planned gaming PC build gives you a better chance of completing your system on schedule without unnecessary replacement purchases. Once everything is installed and tested, you can focus on enjoying your games rather than fixing problems that could have been identified before assembly.